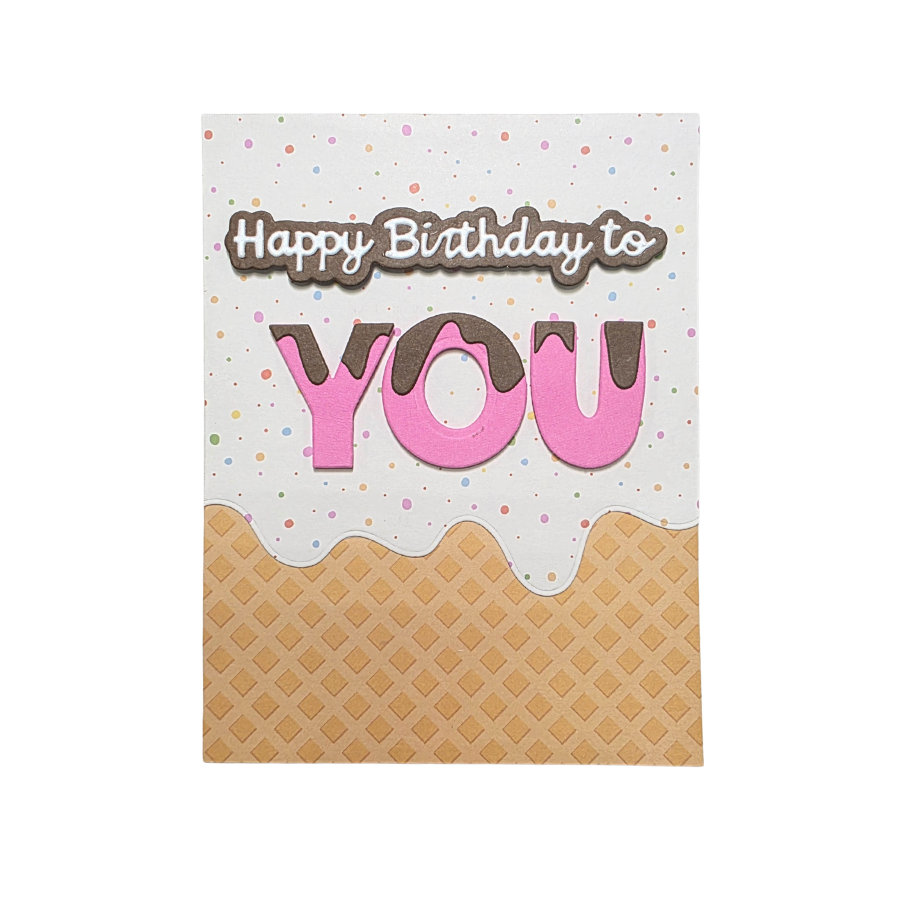
How to Make a Happy Birthday Ice Cream Card
Looking for a fun and colorful DIY birthday card idea? Today I’m sharing a step-by-step tutorial on how to create this adorable Happy Birthday Ice Cream Card using the Scrapbook.com Scoops of Fun die set and beautiful cardstock from CutCardstock.com.
Hi crafty friends! It’s Tiffani from A Krafting Alley, and this handmade birthday card is perfect for anyone who loves sweet treats, bright colors, and dimensional die-cut designs. If you enjoy making layered cards with your die cutting machine, this easy birthday card tutorial is for you!
Supplies Needed for This DIY Ice Cream Birthday Card
Dies & Pattern Paper
Scrapbook.com Scoops of Fun Die Set
Scrapbook.com Hooray Pattern Paper
**Or do like I did and get the Scoops of Fun Bundle! Currently on an awesome sale!
Cardstock Used
Neenah Classic Crest Solar White 110 lb (card base)
Eris Stardream Metallic cardstock
Lessebo Coffee Bean cardstock
Tools & Adhesives
Spellbinders Platinum 6 Die Cutting Machine (on a good sale right now!)
Rectangle die (from my stash)
Pro Tip: Using high-quality cardstock makes a big difference in die cutting results. The cardstock from CutCardstock.com cut cleanly and gave crisp edges for all the detailed die pieces.
Step 1: Die Cut All Card Elements
After choosing my color palette, I used the dies from the Scoops of Fun die set to cut out all the design elements. The only additional die I used was a rectangle die to cut the waffle cone patterned paper for the background.
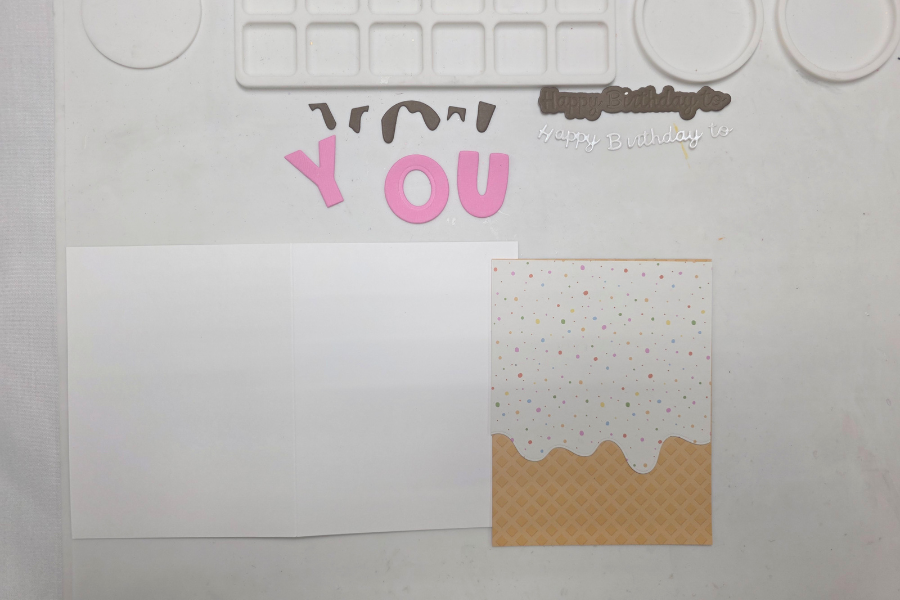
Here’s how I used each cardstock color:
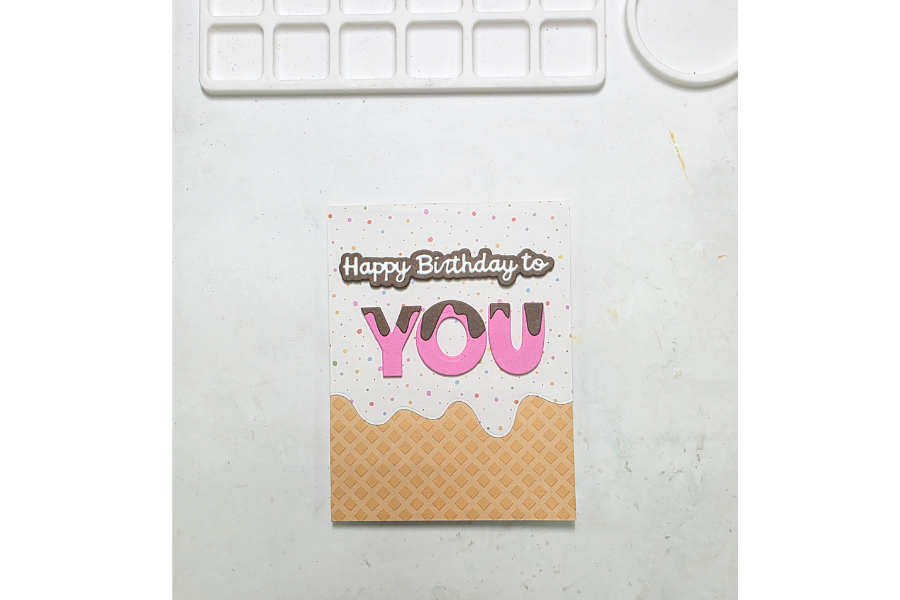
Coffee Bean cardstock – Drippy icing layer for the word “you” and shadow layer for the “Happy Birthday To” sentiment
Iris Stardream Metallic cardstock – Main “Happy Birthday To” sentiment
Pink Tutu cardstock – Word “you”
Polka dot pattern paper – Ice cream scoop layer
Waffle cone pattern paper – Background panel
This color combination gives the card a playful and cohesive ice cream theme that works perfectly for birthday celebrations.
Step 2: Assemble the Birthday Sentiment
To make the card assembly easier, I always start by building my sentiment layers first.
Glue the Coffee Bean “drippy icing” layer on top of the Pink Tutu letters for the word “you.”
Attach the Iris Stardream Metallic “Happy Birthday To” sentiment to the Coffee Bean shadow layer using liquid glue.
Set both pieces aside to dry completely.
Layered die-cut sentiments instantly elevate a handmade birthday card and give it a professional finish.
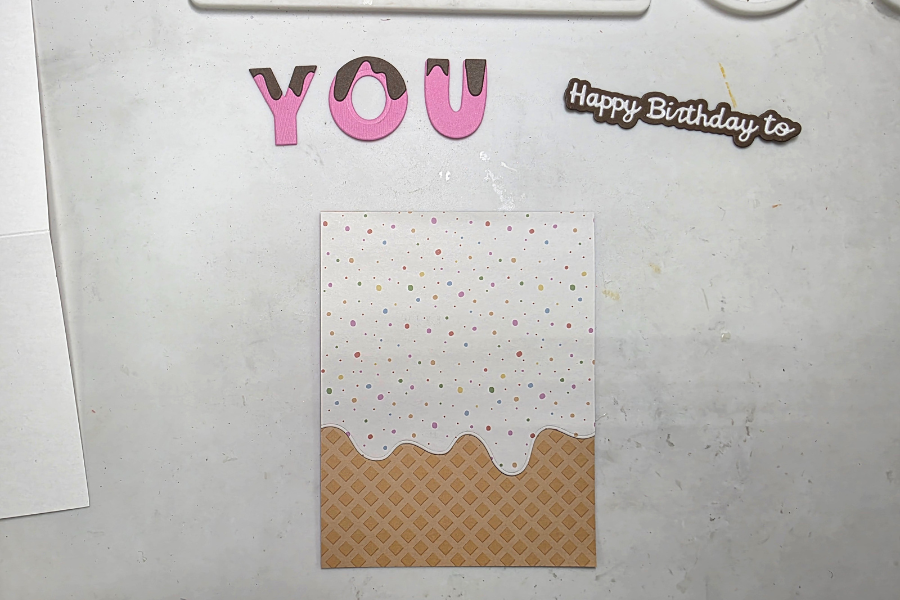
Step 3: Create the Ice Cream Card Background
Next, I assembled the background panel:
Glue the polka dot ice cream scoop piece onto the waffle cone patterned paper.
Once that panel was complete, adhere it to the Neenah Solar White 110 lb card base using liquid glue.
The contrast between the polka dots and waffle cone print creates a fun and eye-catching birthday card design.
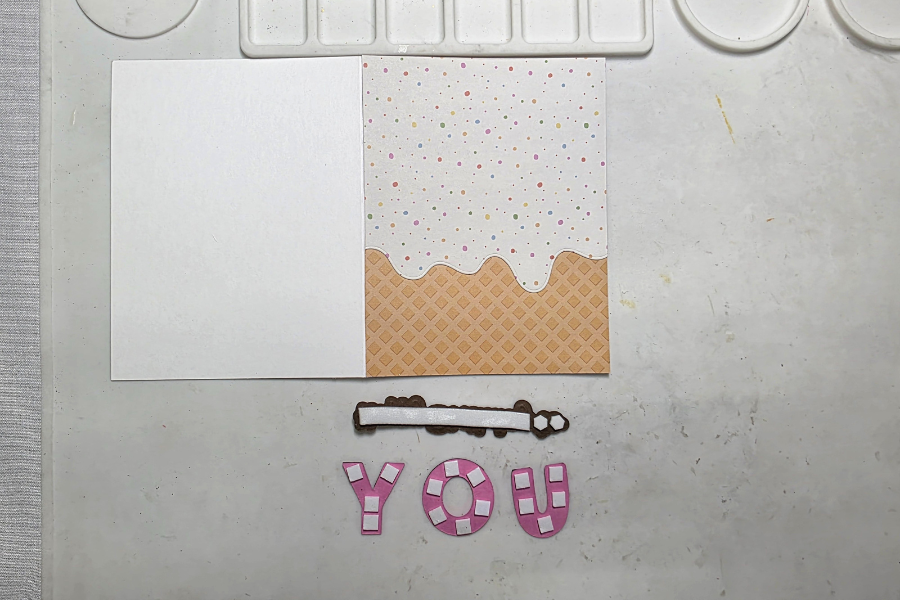
Step 4: Add Dimension with Foam Tape
To give this DIY birthday card extra depth, I added foam squares and foam tape to the back of both sentiment pieces.
I centered the “Happy Birthday To You” sentiment on top of the ice cream portion of the background panel. The raised dimension makes the card more dynamic and visually interesting.
If you love dimensional handmade cards, foam tape is a must-have supply!
Why You’ll Love This Ice Cream Birthday Card Idea
Perfect for kids or adults
Bright, cheerful color palette
Great way to use patterned paper
Beginner-friendly die cutting project
Easy to customize with different cardstock colors
The Scrapbook.com Scoops of Fun die set bundle is incredibly versatile. You can rearrange the pieces, change colors, or even create shaker cards with this design. I definitely plan on making many more handmade birthday cards using this set!
Final Thoughts on This DIY Birthday Card Tutorial
This ice cream themed Happy Birthday card is a sweet and simple project that’s perfect for your next handmade birthday card. Using layered die cuts, patterned paper, and dimensional foam adhesive creates a card that looks detailed but is easy to assemble.
I hope this step-by-step birthday card tutorial inspires you to create your own fun and festive handmade cards. If you make this project, I’d love to see it!
Thanks so much for reading,
Tiffani
A Krafting Alley