Handmade “Hey… Miss You” Card Tutorial – Hot Air Balloon Die Cut Card

Looking for a sweet, uplifting handmade card idea? This hot air balloon “Hey… Miss You” card is perfect for letting someone know you’re thinking about them. In this tutorial, I’ll walk you step-by-step through how I made this card using CutCardStock.com cardstock, the Stitched Cloud Backdrop die from Kat Scrappiness, and the Up and Away die and stamp set from Concord & 9th. With a pastel color palette, dimensional layers, and a soft ink-blended sky, this die cut cardmaking project is fun and easy to recreate.
Cardmaking Supplies You’ll Need
To make this hot air balloon handmade card, I used:
Cardstock from CutCardStock.com
Neenah Classic Crest Solar White 110 lb – card base
Cougar White 80 lb – stitched cloud background & clouds
Discount Card Stock 100 lb Natural White – balloon base
Bazzill Marble 80 lb – Robin’s Egg, Easter Grass, Candy Hearts – balloon stripes
Discount Card Stock 80 lb Dolphin Gray – basket & balloon pole
Pop-Tone 65 lb Black Licorice – sentiment shadow
Dies & Stamps
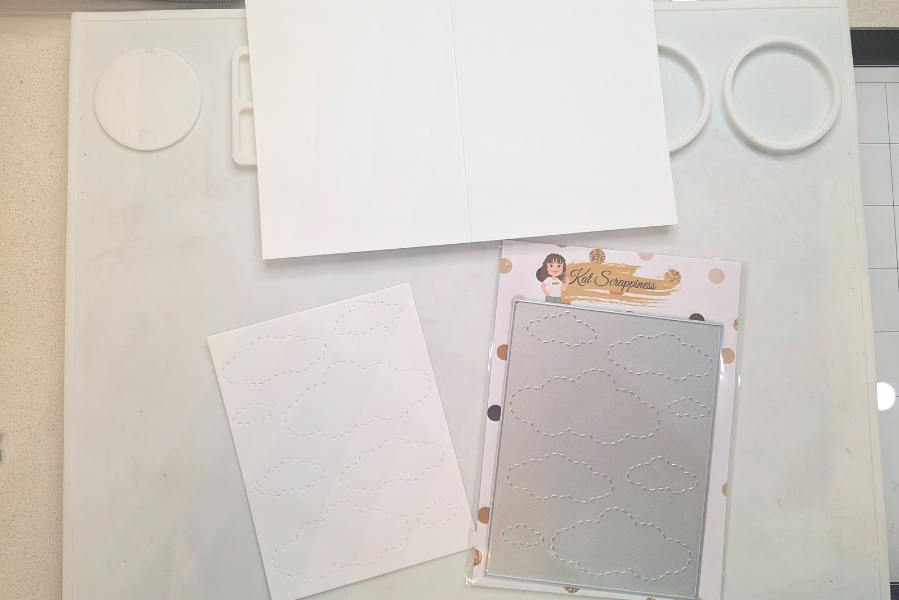
Stitched Cloud Backdrop – Kat Scrappiness (On CLEARANCE right now)
Additional Tools & Supplies: Scrapbook.com Sky Blue ink, blending brush, Memento Tuxedo Black Ink, Nuvo liquid glue, foam tape, Spellbinders Platinum 6 die cutting machine, Xyron machine, mini score board and a bone folder.

Step-by-Step Cardmaking Instructions
1. Create the card base
Cut an A2-size card base from Neenah Classic Crest Solar White 110 lb cardstock and score it down the center. I used my guillotine cutter and scoring board.
2. Die cut the stitched cloud background
Run Cougar White 80 lb cardstock through your die cutting machine with the Stitched Cloud Backdrop die to create a textured cloud panel. I used my Platinum 6 die cutting machine for all my die cutting.
3. Die cut the sentiment
Used the “Hey” sentiment die and cut it out twice using the Dolphin Gray and Black Licorice card stock.
4. Cut the hot air balloon pieces using die set
Balloon base: Discount Card Stock Natural White
Balloon stripes: three colors of Bazzill Marble cardstock – Robin’s Egg, Easter Grass, and Candy Hearts
Basket and pole: Discount Card Stock Dolphin
Clouds and banner flag: Cougar White cardstock
5. Stamp the details
Stamp “miss you” onto the white banner flag using Memento Tuxedo Black Ink. I also stamped a small heart on the basket for a sweet finishing touch.
6. Ink blend the sky
Use Scrapbook.com Sky Blue ink and a blending brush to lightly blend color around the stitched cloud panel edges for added depth.


7. Assemble the card
Glue the colored stripes onto the hot air balloon base.
Layer the “Hey” sentiment using Pop-Tone Black Licorice and Dolphin Gray cardstock for a shadow effect. I ran them both through my Xyron machine to make them into stickers and layered the gray on top of the black.
Attach foam tape to the back of the balloon for dimension.
Arrange and glue the clouds behind the balloon, then adhere the balloon to the stitched cloud background.
Add the banner flag to the top of the balloon and place the “Hey” sentiment in the upper left corner.


Why I Love This Card Design
This DIY “Hey… Miss You” card combines cheerful colors, clean die cuts, and subtle ink blending for a design that works year-round. It’s a great thinking-of-you handmade card for friends, family, or anyone who needs a little extra love in their mailbox. The Up and Away die set is incredibly versatile — you can change the colors to suit any occasion or season.
If you decide to make your own version, I’d love to see it. As you may have this die and stamp set…it’s an oldie but goodie! Tag me on Instagram or leave a comment below. Let’s keep inspiring each other to create cheery, uplifting things!
Thanks for crafting with me, and I hope you enjoyed this blog post.
💗
Tiffani
– A Krafting Alley